Luxora Quartz: The Countertop That Doesn’t Make Life Harder

I still remember the first time I cooked on a brand-new countertop. The pan was too hot, the sambal splattered, and someone knocked over a glass of teh o ais. That was the moment I understood why people rave about quartz, especially Luxora Quartz. It looks like stone, feels solid under the hand, and most importantly, doesn’t punish you for living a normal, messy life.

What Exactly Is Luxora Quartz?

Luxora Quartz is an engineered surface made mostly from natural quartz blended with binders and color pigments. In simple terms: you get the beauty of stone without the high-maintenance personality. Because it’s non-porous, stains don’t settle in easily, and there’s no need to do the whole “seal it every year” routine. If you’ve handled marble that etches when lime hits it or granite that needs sealing, you’ll appreciate the low-drama nature of this material.

Why People Keep Picking It

It’s not just about looks. Luxora gives consistent patterning—great when you’ve got a long kitchen run or a big island. You don’t have to worry whether the next slab will suddenly change tone or veining. And in daily use, it shrugs off coffee rings, curry splashes, and the odd soy sauce drip with a wipe of soapy water.

The Look: Calm Neutrals or Bold Veins, Your Call

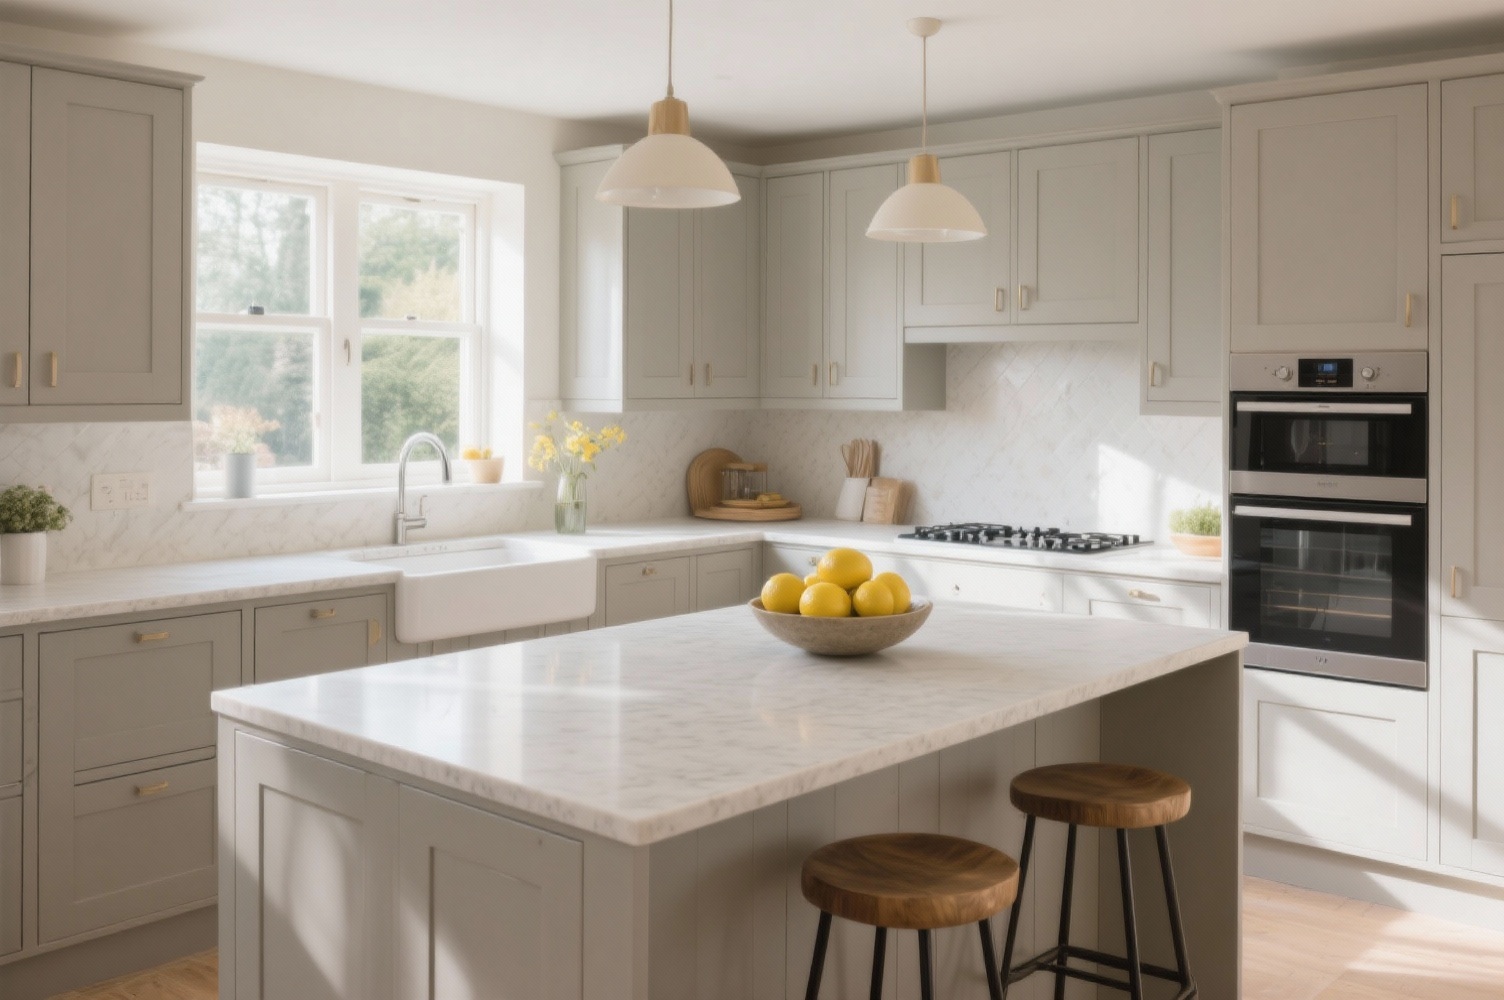
Design-wise, Luxora spans the quiet to the dramatic. If you like a bright kitchen, the warm whites and creams bounce light and make the space feel a bit larger. Pair them with oak cabinets and matte black handles, and you’ve got that warm-minimalist vibe that’s everywhere right now.

Prefer something moodier? Mid-grays and charcoal tones bring a modern, slightly industrial feel—very nice with brushed steel, darker woods, or concrete floors. And if you love marble but can’t stand worrying about stains, the bold veined styles deliver that sweeping movement without the anxiety. The key is to check undertones. Bring your cabinet door and flooring sample to the showroom, place them against the slab, and look at everything in natural daylight. You’ll catch clashes (blue-grey vs. yellow-beige) immediately.
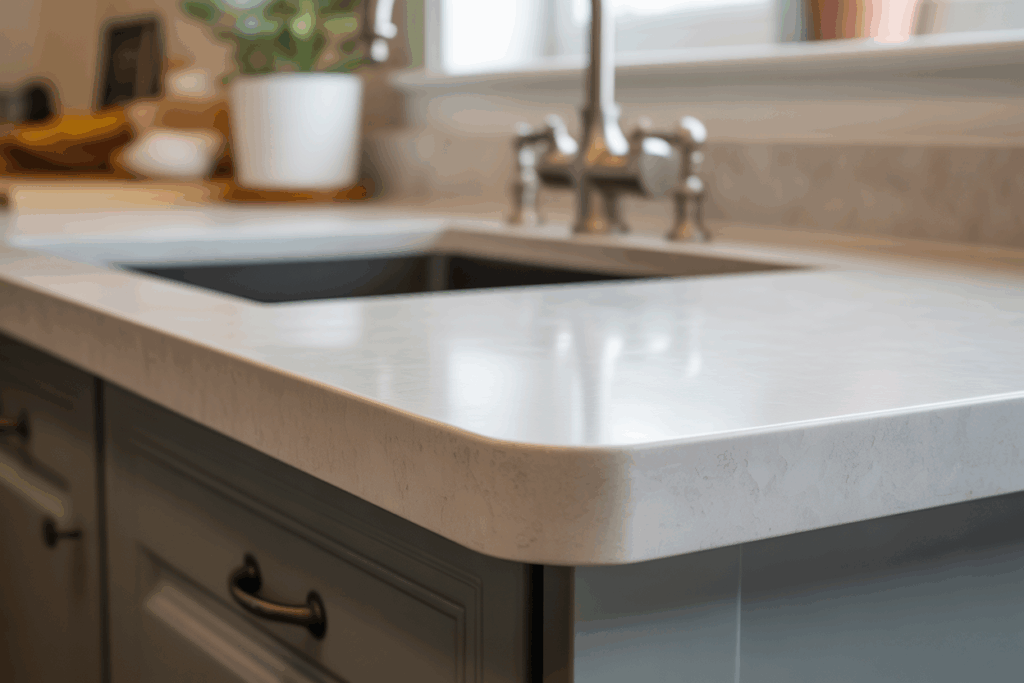
Close-up macro of Luxora Quartz countertop rounded eased edge, subtle speckling, easy-clean surface; brushed nickel tap, soft side lighting, high detail, true-to-life material render.

Where It Works Best (And Why)

Kitchens that see real cooking

Luxora Quartz is right at home next to the stove and sink. It’s not scared of daily chopping or quick clean-ups. Just respect heat: set down a trivet before parking a sizzling pot. Thermal shock is the one thing no engineered stone enjoys.

Bathrooms that need to stay fresh

Hair dye, toothpaste, skincare acids—wipe and go. No sealing, no drama. Choose a matte finish if you want fewer visible smudges; pick polished if you like that bright, reflective look.

Splashbacks and feature panels

Large quartz splashbacks are easier to clean than tile grout and look seamless behind a cooker. If your cooker throws serious heat, ask your fabricator about safe clearances and protection near the hob.

Utility areas

Pantry, laundry, coffee corners—anywhere you want a clean surface that doesn’t mind daily traffic.

Living With It: Real-World Care

You don’t need a special kit. Mild dish soap and water handle most things. For a stubborn mark, use a non-abrasive cream cleaner with light pressure. Avoid strong solvents and harsh chemicals; if something questionable lands on the surface, rinse it off sooner rather than later. Use cutting boards (your knives will thank you) and keep trivets handy for hot trays straight from the oven.

Details That Make a Difference

Thickness changes the feel. A 20 mm slab looks sleek and modern; a 30 mm slab gives more presence on a big island. For edges, an eased straight edge is clean and safe. Pencil round softens the look just enough, and a small bevel adds a subtle shadow line that works well with shaker-style cabinets. Planning a long breakfast bar overhang? Ask about reinforcement, especially with thinner slabs.

Seams are part of life unless your island fits a single slab. A good fabricator will place joins where they’re least visible and align any veining so the flow feels intentional. Don’t be shy about asking to see photos of previous work—edges and seams reveal the installer’s skill.

How It Stacks Up Against Other Materials

If you adore authentic marble, consider this split: use marble in a guest powder room where it won’t see daily abuse, and pick Luxora Quartz for the kitchen where spills are guaranteed. Compared to porcelain slabs, quartz feels warmer and less “glass-like” to the touch; porcelain is a heat hero, but edges can chip if mistreated. For tight budgets, a simple quartz with subtle speckles or soft veining often costs less than dramatic marble-look patterns, yet gives you the same easy maintenance.

Cost, Timelines, and What to Check Before Ordering

Prices vary with color complexity, finish, thickness, and how tricky your layout is. Dramatic veining usually lands at the higher end. Before you confirm:

  • View the actual slab, not just a small sample. Veining scale matters.
  • Decide on a finish—polished for brightness, matte for a more forgiving, tactile feel.
  • Have the sink and hob on-site for templating day; accuracy here saves headaches later.
  • Clarify lead time and what the warranty covers (manufacturing defects, stain resistance, exclusions related to heat, etc.).
  • Confirm who’s doing the installation, and ask for seam and edge photos from past projects.

Small Style Notes That Go a Long Way

A pale quartz paired with warm lighting makes a kitchen feel welcoming at night. Try 3000–3500 K bulbs to avoid a cold, bluish cast on white tops. If you’re going for dark quartz, consider a thin, color-matched caulk against the wall so the perimeter looks neat. And if your cabinet run is long, break things up with a timber breakfast bar or a contrasting quartz on the island—same family, different tone.

Final Take

Luxora Quartz earns its keep by being good-looking and undemanding. It’s the surface that lets you cook, host, and live a little—without turning you into the countertop police. If your home is lively and your kitchen actually gets used, this is a smart, calm choice that still feels premium every time you set your cup down.

Best Tile Choices for Small Spaces: What Works in Singapore Homes

Small Space, Big Style

Let’s be real—living in Singapore means you learn to live with less space. We make do with what we have, right? Whether it’s a 4-room BTO in Tengah or a studio condo near Redhill, small space is the name of the game. But here’s where things get interesting. You can’t change your floor plan, but you can change how your space feels. And one of the easiest ways to do that? Your choice of tiles.

Don’t Just Go White. Go Warm Light.

We always hear that light colors make a room feel bigger. Indeed it’s true. But in Singapore, pure white can look too harsh—especially under our afternoon sun or LED lights.

What works better? Off-white, light beige, even a dusty taupe. These colors reflect light, but they don’t glare. Especially in bathrooms and kitchens, that softer tone makes a big difference. Some homeowners are going for light marble textures—not the super shiny kind, but the ones with soft veins. It adds that atas feel, but still calm and clean. You can find these at Polybuilding—their range includes a lot of natural-looking tones that feel right at home here.

Big Tiles, Small Space? Actually, Yes.

You’d think big tiles don’t make sense in small flats. But here’s the trick—less grout means fewer lines, and that makes the floor feel more seamless.

A 60×60 cm tile can make your living room flow better. If your tiler can handle it, 60×120 cm works even better for open kitchen layouts. Just make sure the floor is level, or the lippage (that uneven edge thing) will spoil the look.

Also, use the same tile across different zones if possible. Living, dining, even kitchen—no need to chop things up unless you really want to.

Vertical Layouts = Taller Feel

Ceiling a bit low? Vertical lines help. Lay your wall tiles upright instead of sideways. This draws the eyes upwards and makes your walls look taller.

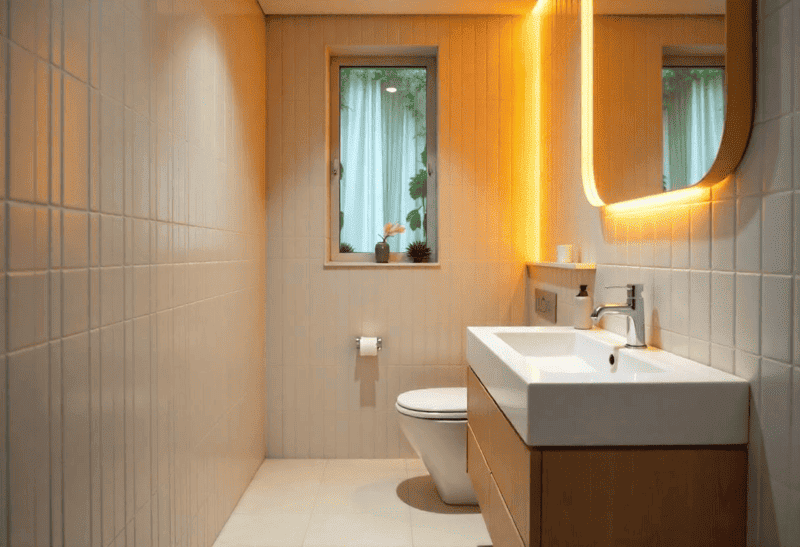
This trick works especially well in toilets. Try vertical subway tiles or slim stone strips. You don’t need to go full feature wall—just that little adjustment makes a difference.

Some designers are also using fluted tiles as bathroom accents. Not cheap, but shiok when done right.

Want Warmth? Wood-Look Tiles Are Your Friend

Timber flooring looks nice but is not always practical. With our weather—rain, sun, then rain again—maintenance can be a pain.

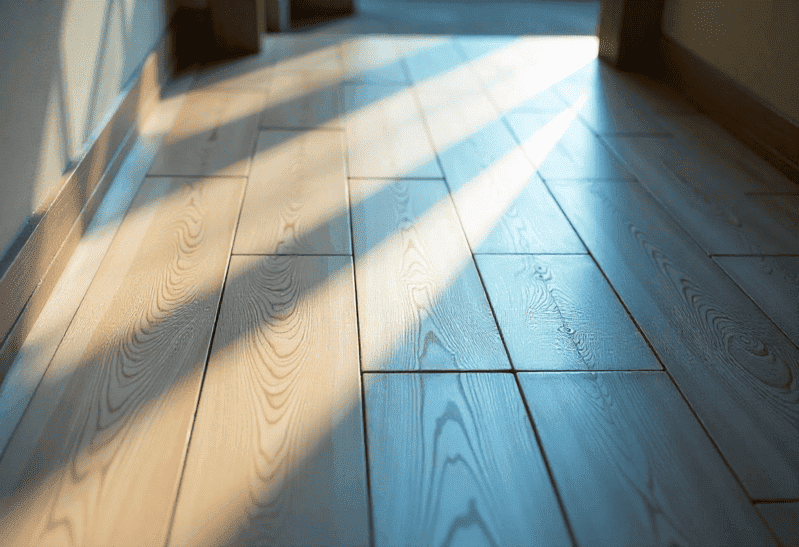
Wood-look tiles solve that. You get the look without the worry. Even for small bedrooms or hallways, they add a soft, warm touch. Choose mid-tone browns, not too dark—keeps the space from feeling heavy.

Some people even lay them in a herringbone pattern for that boutique hotel vibe.

Same-Same, Not Boring

Don’t go crazy with five different tiles in one house. Especially in a small unit, too many styles can feel messy.

Instead, pick a base tile and stick to it across zones. You can switch it up slightly—matte for floors, glossy for walls—but keep the color tone consistent.

That harmony makes the home feel bigger, calmer, and more cohesive.

Pattern Tiles: Use Sparingly, Like Sambal

Patterned tiles are like sambal—just enough can really bring the dish (or space) to life. Too much, and your mouth (or eyes) cannot tahan.

Use them as accents:

  • A backsplash
  • Toilet niche
  • Entryway corner

Terrazzo and Peranakan patterns are still popular here. Just don’t go full wall unless you really want a statement look.

Don’t Forget About Safety, Especially for Family Homes

If you’ve got small kids or elderly folks at home, this part’s important. Anti-slip tiles are not just for bathrooms. Think service yards, balconies, even kitchen floors. Look for tiles with an R10 rating or higher. Textured but still nice to walk on. At Polybuilding, the staff can guide you on which ones work best depending on the area and foot traffic.

Glossy Tiles Brighten Up, But Be Careful Where

Glossy finishes are great on walls. They reflect light, so small spaces don’t feel so boxed in. Kitchen backsplashes, bathroom walls—this is where glossy tiles shine (literally).

But for floors? Better stick to matte or satin finishes. Especially in toilets and wet kitchens. The last thing you want is to slip in the middle of the night.

Some matte tiles now have a very subtle sheen—the best of both worlds, honestly. And they hide footprints better too. Important if your house has kids or just… a lot of traffic.

Before You Buy, Go See In Person

Photos are one thing. But tiles look different in real life—especially under different lights. Some might look warm online but turn greyish in your living room.

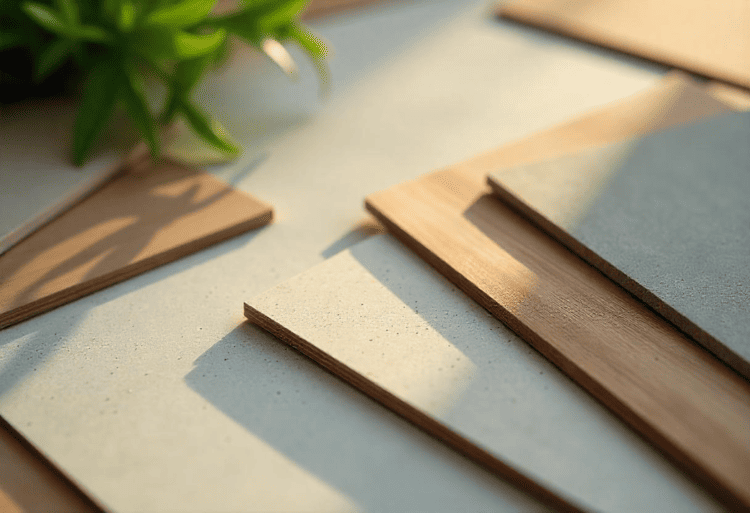
Take home samples. Put them next to your wall paint or cabinets. Step on them, touch them. See how they look at 8am in the sun and at 10pm under warm lights.

Don’t rush. Renovation is expensive. Tiles are not easy to change once done.

Wrapping Up

Small homes in Singapore don’t have to feel cramped. With the right tiles—in the right colors, size, and finish—you can totally transform your space.

Focus on consistency, subtle textures, and long-term practicality. You’ll be surprised how much of a difference it makes. Not just for looks, but how you feel in the space every day. If you’re unsure where to start, just head over to Polybuilding—their team really knows their stuff, and you can see (and touch) everything before making any big decisions.

A Guide to Matching Tiles With Wood, Stone, and Other Natural Elements

Keep It Natural, Not Messy

So you’re renovating. Maybe it’s your first home, maybe you’re giving the old place a facelift. Either way, at some point you’ll hit this common headache: how to mix tiles with wood, stone, and all those natural finishes you love.

You walk through showrooms, scroll Pinterest, flip through renovation forums. But still… you squint at the samples and ask yourself: “Does this go with that?”

We get it. In Singapore, where homes are compact and humid, and every square foot counts, mixing materials isn’t just about looks. It’s about making sure everything feels cohesive — and tahan.

Here’s a local, no-fluff guide to getting your tile-and-natural-material combo right.

Don’t Try Too Hard to “Match”

First thing first — forget the idea that everything needs to “match”. If you’ve got timber floors, you don’t need your wall tiles to be the exact same brown. In fact, that can make things look a bit… flat. Too uniform.

Instead, go for complement, not copy.

For example:

  • Light oak flooring? Try warm-grey or sand-coloured tiles to bring out contrast.
  • Dark walnut cabinets? Balance with cream or off-white tiles to lighten the space.

In Singapore flats where natural light isn’t always the best, this kind of contrast adds depth. Makes the space feel more layered.

Textures Are Your Best Friend

One thing many people overlook: texture.

Here in Singapore, with our heat and humidity, you don’t just want things to look nice — you want them to feel right. Smooth-on-smooth surfaces can look sterile, especially under our warm lights.

So think about mixing things up:

  • Got matte timber panels? Pair with slightly glossy tiles for contrast.
  • Stone-look tiles with a bit of grit? Balance with smooth laminate or woodgrain.

And if you’re doing up a bathroom, especially in an HDB, textured tiles can help prevent slips too. Style plus safety — win-win.

Always Check the Undertones

Now this one catches a lot of people.

You think you’re buying a “neutral” tile, but under your actual home lighting, it starts looking oddly yellowish. Or pinkish. Or green.

That’s because of undertones — and in Singapore’s lighting (especially if you’re using warm LED bulbs), they really show up.

So when you’re mixing natural materials:

  • Wood with yellow undertones? Stick to tiles with warm, earthy bases — not blue-grey.
  • Marble with cool undertones? Avoid reddish or orangey timbers.

Bring samples home. View them in daylight and under your night lighting before you commit. Better to be extra fussy now than regret for the next 10 years.

Use Tiles to “Frame” Your Natural Elements

If you’re using a standout natural material — like a real wood dining table, stone feature wall, or even rattan doors — let it shine.

Your tiles shouldn’t compete. They should frame.

Think of it like this:

  • A bold stone vanity? Keep your wall tiles clean and simple.
  • Got a nice teak TV console? Use muted flooring tiles so the wood doesn’t get “lost”.

Too many competing textures or colours in a small Singaporean space = visual chaos. A bit of restraint goes a long way.

Indoor to Outdoor — Keep It Flowing

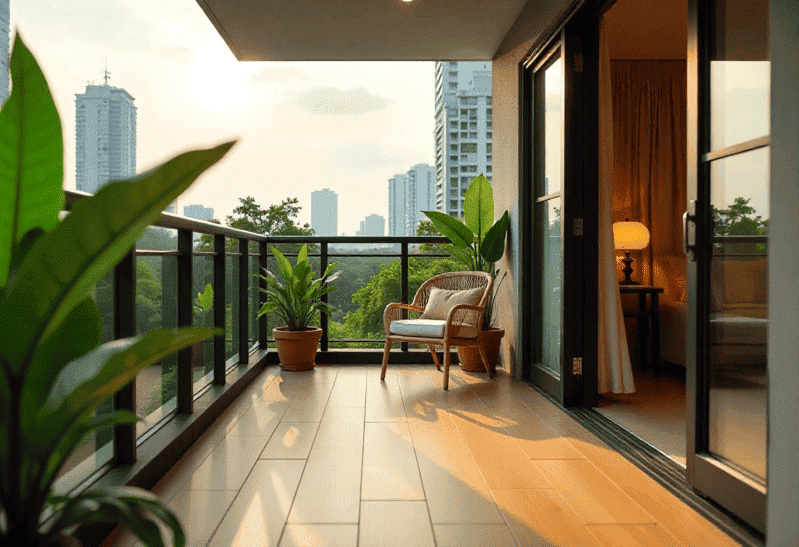
A lot of us love having that little balcony space, even if it’s tiny. If you’re lucky enough to have one, think about how your indoor flooring connects to the outdoor.

Use wood-look tiles inside and timber decking outside? Great. Make sure the tones are cousins, not strangers.

Even better — some tiles are rated for both indoor and outdoor use. That way, you can run the same tile from your living room out to your balcony, making everything feel more open.

Just make sure it’s slip-resistant. Balcony accidents aren’t fun, especially after rain.

Practical > Pretty (Sometimes)

Sure, we all want the showroom look. But be honest — are you going to mop every two days? Will your kids spill stuff? Do you cook often?

Real wood is gorgeous. But in a wet kitchen or bathroom? High maintenance. Natural stone is classy, but it can stain or etch if not sealed well.

If you love the look but not the upkeep, consider:

  • Wood-look porcelain tiles (they’ve come a long way!)
  • Marble-look or travertine-look tiles — easier to clean, just as elegant

Singapore homes are built for living, not just looking nice in photos. Don’t let high maintenance finishes stress you out.

Some Singapore-Specific Considerations

Just a few extra local notes worth mentioning:

  • Space is tight, so lighter tones can help open things up. But too much white can feel cold — mix in warm wood or stone accents.
  • Air-con and humidity can mess with some natural materials. Always check with your supplier about long-term performance.

Renovation permits: If you’re in an HDB, remember not all stone tiles are allowed on walls (because of weight). Always check the guidelines before buying.

Final Word: Don’t Be Afraid to Ask

At the end of the day, this is your space. Your home. No one else is going to live in it but you (and maybe your mother-in-law if you’re lucky).

So if you’re unsure about how to match things up — go to a proper tile supplier. Ask questions. Bring your samples. Look at them under proper lighting. And don’t be shy about mixing materials — just do it with intention.

If you’re still piecing things together or not quite sure what works with what, feel free to swing by our showroom or drop us a message. At Polybuilding, we’re always happy to chat, show you around, and help you find something that fits — no pressure, just good advice and plenty of samples to explore. Good design isn’t about following rules — it’s about creating a space that feels like you.

What’s the Best Way to Care for Marble in Humid Weather?

Keeping Your Cool (and Your Marble’s Shine) in Sticky Weather

If you live somewhere with a lot of humidity—hello, foggy mirrors and sticky mornings—you are already aware of how sneaky moisture can be. It’s much more important to pay care if your house has marble surfaces. Marble is lovely, but when it gets wet, it requires a lot of maintenance.

So, when the air feels like soup, how do you keep your marble looking beautiful (and not stained)? This is a stress-free guide to marble maintenance in humid climates.

Why Humidity and Marble Aren’t BFFs

Let’s start by stating that marble is permeable. In other words, if marble is not well covered, it can absorb water, oils, and stains. When humid, this may result in:

  • Discoloration or dark patches
  • Etching: the dulling of the surface
  • Mold or mildew, particularly in restrooms
  • Cracking or warping if the basal layers are impacted by moisture

The good news? A few wise behaviors can make a big difference.

1. Seal It Regularly

Without a doubt, the most crucial step in humid environments is sealing your marble. An effective sealer creates a barrier of defense that keeps dirt and water out of the stone.

What to do:
  • Apply a stone-safe, penetrating sealant.
  • Reseal every 6 to 12 months
  • To be safe, test on a tiny area first.

It’s probably time to seal your marble if you can’t recall when you last did it.

2. Wipe It Down When It’s Damp

Humid air can leave a thin film of moisture on surfaces that don’t appear wet. If you see condensation, wipe it off quickly with a soft, dry cloth, especially on windowsills or bathroom counters.

Why even bother?
  • Stops moisture from penetrating
  • Prevents dull marks and water stains
  • Prevents the growth of mildew in corners

You can avoid a weekend scrubbing session only with a 10-second wipe.

3. Boost Ventilation

Maintaining adequate ventilation prevents moisture from seeping into your marble and bonus- it gives your house a more energizing scent.

Try this:
  • Utilize exhaust fans in kitchens and bathrooms.
  • When the weather allows, keep the windows open.
  • Use a dehumidifier in damp places.
  • To promote airflow, keep doors slightly open.

Even a small fan can make a big difference in preventing that sticky, stagnant air.

4. Use Marble-Safe Cleaners

We understand the popularity of DIY natural cleaners. However, marble reacts poorly to acidic substances like lemon or vinegar. In fact, they have the potential to leave dull patches and harm the surface.

Stick to:
  • pH-neutral stone cleaners
  • Mild dish soap mixed with water
  • Soft cloths or sponges (no scouring pads!)

Check the label whenever you’re unsure. Don’t take a chance if it doesn’t indicate “safe for marble.”

5. Use Mats and Rugs Wisely

Marble flooring in bathrooms, entryways, and next to windows is particularly susceptible to moisture damage, particularly during rainy seasons.

Simple ways to protect your stone:
  • Place absorbent mats at entrances.
  • Make use of permeable carpets; stay away from rubber backings that retain moisture.
  • In the bathroom, switch to quick-drying bath mats.

In addition to keeping your marble dry, mats also lessen wear and tear in places that get a lot of usage.

6. Watch for Mold and Mildew

Steamy kitchens and humid restrooms can attract mold and mildew, two undesirable visitors. They prefer to hide beneath fixtures, in corners, and in grout lines, particularly in areas with inadequate ventilation.

Stay ahead by:
  • Keep ahead by routinely inspecting the grout and seams.
  • Using mold removers safe for marble
  • Cleaning small spots early before they spread

Catching it early = easy fix. Letting it fester = major headache.

So, Is Marble Worth It in Humid Weather?

Absolutely—if you don’t mind a little maintenance. Marble is not a deal breaker in humid conditions. All you have to do is be proactive:

  • Regularly seal it.
  • Maintain dry surfaces.
  • Use the right cleaning supplies.
  • Keep the ventilation adequate.

If you’re the kind of person who already wipes down your counters and stays on top of household chores, marble care will feel like second nature.

Final Thoughts

Marble is a material that breathes. Heat, moisture, and even the things you use can cause it to respond. Even when the air outdoors seems like a steam room, you may maintain its crisp appearance with a few easy routines.

Therefore, don’t let the weather deter you. Your marble will appreciate years of smooth, luxurious beauty if you give it a little care.

Marble vs Granite: Choosing the Right Stone

When it comes to selecting the ideal material for your countertops, flooring, or even wall features, two timeless options often top the list: marble and granite. Both are natural stones valued for their beauty, durability, and association with luxury—but which one is best for your home? In this post, we’ll explore the pros and cons of each material, where they work best, and the key factors to consider before you make a final decision. Whether you’re renovating a kitchen or designing a new bathroom, knowing the key differences between marble, granite, and even modern alternatives like poly granite tiles price can help you make a confident and informed choice.

What’s the Difference Between Marble and Granite?

Before we dive into comparisons, it’s helpful to understand what makes these stones distinct.

  • Marble is a metamorphic rock created from limestone by extreme heat and pressure. It has a soft, veined appearance and a smooth, almost buttery surface when polished.
  • Granite, on the other hand, is an igneous rock created from cooled magma. It contains minerals like quartz, feldspar, and mica, giving it a speckled, textured look.

They may both be stone, yet they behave—and age—very differently. For homeowners comparing natural and engineered options, checking the poly granite tiles price gives a useful benchmark for budgeting.

Appearance: Elegance vs. Texture

Marble: Classic and sophisticated

Marble has long been associated with luxury. Its delicate veining and flawless finish make it a favourite for refined interiors. Common colors include white and grey, though green, pink, and black are also available. It gives a softer, warmer feel to a space and is often used in bathrooms or as statement walls.

Granite: Bold and varied

Granite offers rich texture and color variety, from deep blacks to vivid blues and reds. Its flecked or sparkling patterns add strong visual interest. Granite works well in both traditional and modern settings, depending on the cut and finish.

If you’re exploring more budget-friendly options, checking poly granite tiles price can be helpful—they mimic the look of real granite while offering practical advantages in cost and maintenance.

Durability: Which Stone Is Tougher?

Granite Wins on Hardness

Granite is ideal for high-traffic areas like kitchen counters because it’s extremely robust and resistant to heat, chipping, and scratches.

Marble is Softer and More Sensitive

Marble is more porous and delicate. It’s prone to stains and etching, especially from acidic substances. While some homeowners appreciate the aged patina, others prefer a more durable option like granite or even poly granite tiles, whose price reflects their low-maintenance appeal.

Maintenance: How Much Work Are You Willing to Do?

Granite: Low maintenance

Granite is relatively low-maintenance. It is moisture and stain resistant when properly sealed (usually once a year). A quick wipe with mild soap and water is all it takes to keep it looking fresh and clean.

Marble: Needs regular care

Compared to marble, which demands more attention, as it typically needs to be sealed more frequently, as well as spills that should be cleaned up immediately to avoid staining. To avoid etching, use pH-neutral cleansers. If you don’t mind a little maintenance for the sake of beauty, marble may still be worth it.

Price: What’s the Investment?

Generally, granite is more affordable than marble, but prices vary depending on rarity and source. Basic granite costs less than premium marble, though rare types can be expensive. If you’re comparing across materials, poly granite tiles’ price typically falls well below natural stone, offering great value for those who want the look without the higher cost.

Best Use Cases: Where Each Stone Shines

  • Kitchen Countertops: Granite for durability; marble for light use or baking areas.
  • Bathroom Surfaces: Marble for elegance, granite for practicality.
  • Flooring: Granite is preferred for high-traffic areas; however, both are suitable for flooring. Marble, while attractive, wears fast and becomes slippery when wet.
  • Accent Walls and Fireplaces: Marble adds a luxurious, classic touch to accent walls and fireplaces, while granite provides a bold and earthy vibe.

Final Thoughts: Which One’s Right for You?

So, marble or granite? It depends on your lifestyle, taste, and budget.

Choose marble if:

  • You enjoy a soft and elegant look.
  • You don’t mind a bit of wear and patina.
  • You’re installing it in a less-used area, such as a bathroom or decorative space.

Choose granite if:

  • You want a durable material and are on a tight budget.
  • You prefer a wider range of colors and textures
  • You’re working within a budget and want a long-lasting material.

And if you want a practical alternative that balances cost and style, consider the price of poly granite tiles as a reference—they offer a modern solution that brings together durability, beauty, and affordability.